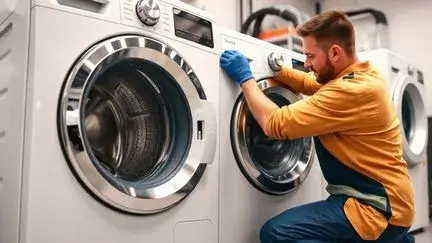
DIY Appliance Repair: Step-by-Step Guide for Beginners
DIY Appliance Repair: Step-by-Step Guide for Beginners. When it comes to fixing household appliances, starting with simple repairs can be a great way to build confidence and save money. If you’re new to appliance repair, don’t worry—this guide will walk you through the basic steps needed to tackle common issues safely and effectively.
Contents
1. Gather the Necessary Tools
Before you start any repair, it’s essential to have the right tools. Here’s a list of basic tools every beginner should have:
- Screwdrivers (both flathead and Phillips)
- Pliers
- Wrench set
- Multimeter (for checking electrical circuits)
- Utility knife
- Tape measure
These tools will help you with most small repairs, making your work easier and more efficient.
2. Start with Simple Repairs
As a beginner, it’s best to start with simple repairs that don’t require extensive knowledge or experience. Common issues like replacing a worn-out washer in a faucet or changing a light bulb in an oven are perfect for beginners. These tasks typically don’t involve complex electrical or mechanical work, reducing the risk of mistakes.
3. Unplug the Appliance
Safety is paramount when dealing with any kind of electrical appliance. Always ensure that the appliance is unplugged before you begin any repair work. This simple step prevents electrical shocks and makes it safer to handle the appliance.
4. Diagnose the Problem
The first step in any repair is to correctly diagnose the problem. Take the time to observe the appliance and note any unusual noises, smells, or behaviors. For example, if your washing machine isn’t spinning, the issue could be related to the motor, the belt, or a simple clog in the drainage system. Understanding the problem will guide your repair efforts and help you determine whether it’s something you can handle.
5. Research and Learn
Once you have a diagnosis, the next step is to research how to fix it. YouTube is an excellent resource for step-by-step tutorials. Watching someone else perform the same repair can provide valuable insights and boost your confidence. Additionally, appliance-specific forums can be helpful for finding tips and advice from others who have faced similar issues.
6. Take Your Time
When you’re new to appliance repair, it’s important to take your time and not rush through the process. Carefully follow instructions and make sure you understand each step before moving on to the next. Being patient will help you avoid mistakes and ensure a successful repair.
7. Keep Track of Parts and Screws
As you disassemble the appliance, keep track of all parts and screws. Organize them in a way that makes reassembly easier, such as placing them in labeled containers. This will save you time and frustration when it’s time to put everything back together.
8. Test the Appliance
After completing the repair, test the appliance to ensure that it’s working correctly. Plug it back in and run it through a standard cycle or operation. If it works as expected, you’ve successfully completed your first DIY repair!
9. Learn from Mistakes
It’s okay to make mistakes as a beginner; what’s important is to learn from them. If something doesn’t go as planned, take the time to figure out what went wrong and how to avoid the same issue in the future. Each repair you undertake will build your skills and knowledge.
10. Know When to Call a Professional
While DIY repairs are a great way to save money, it’s also important to recognize when a problem is beyond your skill level. For complex issues involving gas lines, refrigeration systems, or major electrical work, it’s safer to call a professional. Knowing your limits ensures that the repair is done safely and effectively.
By following these steps, even a beginner can handle basic appliance repairs with confidence. As you gain experience, you’ll be able to take on more challenging repairs, saving even more money in the long run.